지금까지 진행된 소스로 실행을 하고 웹사이트를 호출하면 jinja2.exceptions.TemplateNotFound 오류가 발생한다. 아래 소스에 있는 show_entries.html 이 없기 때문이다.
@app.route('/')
def show_entries():
    cur = g.db.execute('select title, text from entries order by id desc')
    entries = [dict(title=row[0], text=row[1]) for row in cur.fetchall()]
    return render_template('show_entries.html', entries=entries)
render_tempate에서 사용되는 템플릿 html화일은 templates 디렉토리에서 관리된다. 여러 페이지에서 공통적으로 사용되는 부분은 {% extends "layout.html" %} 구분을 사용하여 포함시킬수 있다. 아래 layout.html은 show_entries.html의 상단에 포함되어 공통적으로 사용되어 질 것이다.
url_for 구문은 두개의 인자를 받는데, 첫번째 인자는 경로, 두번째는 파일명을 입력받는다. 아래에서 스타일시트 파일을 url_for구문을 사용하여 입력하였다.
session 객체도 템플릿 안에서 사용할 수 있으며 아래에서는 로그인이 되어 있는지 여부를 확인해서 로그인 또는 로그아웃 링크를 보여준다.
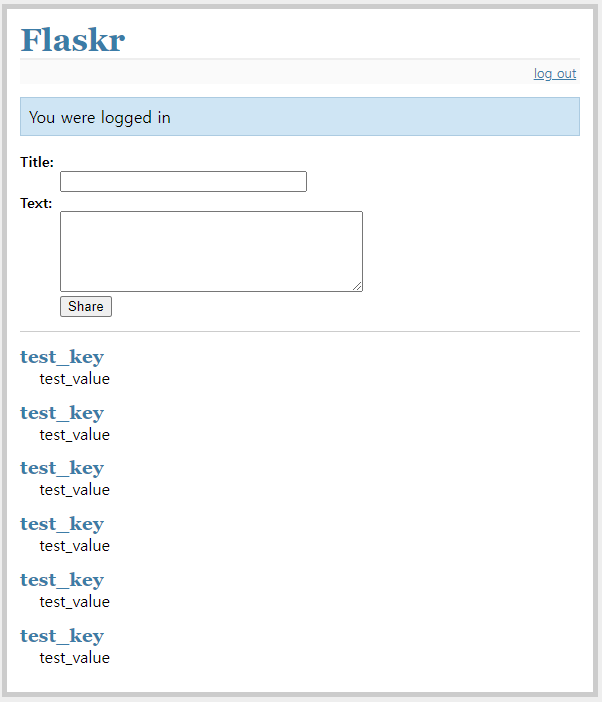
get_flashed_messages() 함수는 application.py 파일, 즉 서버에서 발생한 메시지를 html로 전달할 때 사용되며 flash('You were logged in') 과 같이 실행을 하면, 아래 처럼 출력을 할수 있게 된다.
layout.html 소스
<!doctype html>
<title>Flaskr</title>
<link rel=stylesheet type=text/css href="{{ url_for('static', filename='style.css') }}">
<div class=page>
  <h1>Flaskr</h1>
  <div class=metanav>
  {% if not session.logged_in %}
    <a href="{{ url_for('login') }}">log in</a>
  {% else %}
    <a href="{{ url_for('logout') }}">log out</a>
  {% endif %}
  </div>
  {% for message in get_flashed_messages() %}
    <div class=flash>{{ message }}</div>
  {% endfor %}
  {% block body %}{% endblock %}
</div>
show_entries.html 는 layout.html 화일을 확장하는데, layout.html 의 block body 구문 안에 아래 show_entries.html의 body부분을 대체하여 html을 생성해 낸다. 로그인이 된 상태인 경우에 session.logged_in 이 true가 되어 아래 form 부분의 입력 폼이 보이게 된고, add_entry로 두개의 변수(title, text)를 함께 전송할 수 있게 된다. 아래 ul구문에는 db에 저장된 목록을 for루프를 통해 보여준다.
show_entries.html
{% extends "layout.html" %}
{% block body %}
  {% if session.logged_in %}
    <form action="{{ url_for('add_entry') }}" method=post class=add-entry>
      <dl>
        <dt>Title:
        <dd><input type=text size=30 name=title>
        <dt>Text:
        <dd><textarea name=text rows=5 cols=40></textarea>
        <dd><input type=submit value=Share>
      </dl>
    </form>
  {% endif %}
  <ul class=entries>
  {% for entry in entries %}
    <li><h2>{{ entry.title }}</h2>{{ entry.text|safe }}
  {% else %}
    <li><em>Unbelievable.  No entries here so far</em>
  {% endfor %}
  </ul>
{% endblock %}
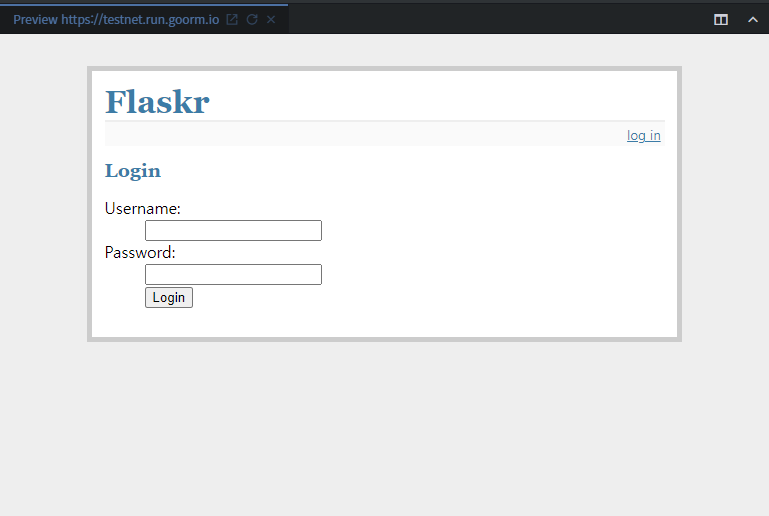
show_entries.html에서 로그인 링크를 클릭하면 아래 화면 로그인 화면이 열리게 되고, username, password를 입력 받아 login url을 호출하여 로그인 처리를 하게 된다.
login.html
{% extends "layout.html" %}
{% block body %}
  <h2>Login</h2>
  {% if error %}<p class=error><strong>Error:</strong> {{ error }}{% endif %}
  <form action="{{ url_for('login') }}" method=post>
    <dl>
      <dt>Username:
      <dd><input type=text name=username>
      <dt>Password:
      <dd><input type=password name=password>
      <dd><input type=submit value=Login>
    </dl>
  </form>
{% endblock %}
아래 스타일시트는 static 폴더에 저장한다. 아래 스타일시트를 변경하여 다양한 형태의 디자인을 적용할 수 있다.
style.css
body            { font-family: sans-serif; background: #eee; }
a, h1, h2       { color: #377BA8; }
h1, h2          { font-family: 'Georgia', serif; margin: 0; }
h1              { border-bottom: 2px solid #eee; }
h2              { font-size: 1.2em; }

.page           { margin: 2em auto; width: 35em; border: 5px solid #ccc;
                  padding: 0.8em; background: white; }
.entries        { list-style: none; margin: 0; padding: 0; }
.entries li     { margin: 0.8em 1.2em; }
.entries li h2  { margin-left: -1em; }
.add-entry      { font-size: 0.9em; border-bottom: 1px solid #ccc; }
.add-entry dl   { font-weight: bold; }
.metanav        { text-align: right; font-size: 0.8em; padding: 0.3em;
                  margin-bottom: 1em; background: #fafafa; }
.flash          { background: #CEE5F5; padding: 0.5em;
                  border: 1px solid #AACBE2; }
.error          { background: #F0D6D6; padding: 0.5em; }
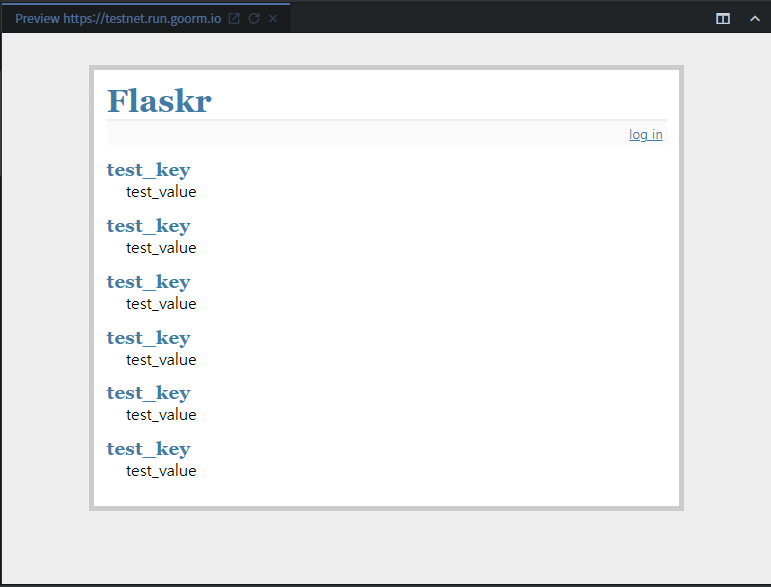
처음화면
로그인화면
로그인 후 입력화면
'Programming > Python' 카테고리의 다른 글
| Python pip install ssl 인증 에러(SSLCertVerificationError, SSL:CERTIFICATE_VERIFY_FAILED) (0) | 2024.05.14 |
|---|---|
| Flask 웹사이트 구축 - 7. MySQL환경설정과 사용자 테이블 생성 (0) | 2022.08.31 |
| Flask 웹사이트 구축 - 5. 웹페이지(html) 렌더링을 하는 뷰 함수들 (0) | 2022.06.27 |
| Flask 웹사이트 구축 - 4. 데이터베이스 연결하기 (0) | 2022.06.25 |
| Flask 웹사이트 구축 - 3. 메인 웹어플리케이션 생성 (0) | 2022.06.21 |